01 GPU CUDA C++ 环境配置
info
在本节笔记中,我们将完成显卡驱动和 CUDA Toolkit 的安装,并通过一个简单的程序验证安装是否成功。随后,我们将介绍并使用 CUDA 自带的开发工具,包括使用 nvcc(NVIDIA 的 CUDA 编译器)编译第一个 CUDA 程序,以及使用 cuda-gdb 进行代码调试
Important Links
- [AutoDL|GPU Renting]: https://api.autodl.com/console/instance/list?tag_id=

# Login to AutoDL GPU server
ssh -p 10467 root@connect.bjb2.seetacloud.com
<password>
本节将介绍如何安装 NVIDIA 显卡驱动。需要注意的是,如果是使用学校或租用服务器,不建议自行安装驱动,建议联系系统管理员处理。一般来说,学校或企业服务器往往已经安装过了合适的 NVIDIA 驱动。因此,本节内容主要适用于尚未安装驱动的个人电脑用户。
查看显卡的型号
在安装 NVIDIA 显卡驱动之前,首先需要确认显卡的型号。可以通过以下方法查看。
lspci | grep -i nvidia

# or

nvidia-smi

Sat Nov 22 14:09:02 2025
+-----------------------------------------------------------------------------------------+
| NVIDIA-SMI 580.76.05              Driver Version: 580.76.05      CUDA Version: 13.0     |
+-----------------------------------------+------------------------+----------------------+
| GPU  Name                 Persistence-M | Bus-Id          Disp.A | Volatile Uncorr. ECC |
| Fan  Temp   Perf          Pwr:Usage/Cap |           Memory-Usage | GPU-Util  Compute M. |
|                                         |                        |               MIG M. |
|=========================================+========================+======================|
|   0  NVIDIA GeForce RTX 5090        On  |   00000000:98:00.0 Off |                  N/A |
| 42%   26C    P8             15W /  575W |       0MiB /  32607MiB |      0%      Default |
|                                         |                        |                  N/A |
+-----------------------------------------+------------------------+----------------------+

+-----------------------------------------------------------------------------------------+
| Processes:                                                                              |
|  GPU   GI   CI              PID   Type   Process name                        GPU Memory |
|        ID   ID                                                               Usage      |
|=========================================================================================|
|  No running processes found                                                             |
+-----------------------------------------------------------------------------------------+
Installation - 本地 Docker
01 Docker Init
curl -fsSL get.docker.com -o get-docker.sh
sudo sh get-docker.sh --mirror Aliyun
Docker 即安装完毕,我们只需要启动它并赋予他权限即可
sudo systemctl enable docker
sudo systemctl start docker
sudo chmod 777 /var/run/docker.sock
sudo systemctl restart docker

# validation
docker run hello-world

# output will be like:
Unable to find image 'hello-world:latest' locally
latest: Pulling from library/hello-world
719385e32844: Pull complete
Digest: sha256:fc6cf906cbfa013e80938cdf0bb199fbdbb86d6e3e013783e5a766f50f5dbce0
Status: Downloaded newer image for hello-world:latest

Hello from Docker!
This message shows that your installation appears to be working correctly.
02 Pull Prepared Image
# 拉取Docker镜像
sudo docker pull registry.cn-hangzhou.aliyuncs.com/hellofss/kuiperinfer:datawhale

# 创建本地文件夹,并将课程代码克隆到该文件夹中
mkdir ~/code/kuiperdatawhale
cd ~/code/kuiperdatawhale
git clone https://github.com/zjhellofss/kuiperdatawhale.git

# 创建并运行一个镜像的容器
sudo docker run -it registry.cn-hangzhou.aliyuncs.com/hellofss/kuiperinfer:datawhale /bin/bash
# 在容器中输入ifconfig命令查看ip地址
eth0: flags=4163<UP,BROADCAST,RUNNING,MULTICAST>  mtu 1500
        inet 172.17.0.4  netmask 255.255.0.0  broadcast 172.17.255.255
        ether 02:42:ac:11:00:04  txqueuelen 0  (Ethernet)
        RX packets 55  bytes 8479 (8.4 KB)
        RX errors 0  dropped 0  overruns 0  frame 0
        TX packets 0  bytes 0 (0.0 B)
        TX errors 0  dropped 0 overruns 0  carrier 0  collisions 0
尝试使用 ssh 命令连�接容器 ssh me@xxx.xxx...
username = me- ip 地址是上方 ipconfig 输出中的 inet
password = 1
03 安装所需依赖
先从本地进入容器内部
docker exec -it kuiperinfer-cpp-dev /bin/bash

# 查看 gcc g++ 版本
gcc --version
g++ --version
安装 SentencePiece 分词库
用于大模型输入文本的分词处理,安装步骤如下。
git clone https://github.com/google/sentencepiece.git ~/sentencepiece

# 进入源码目录
cd ~/sentencepiece
# 创建 build 目录
mkdir build && cd build
# 生成 Makefile(Release 模式)
cmake -DCMAKE_BUILD_TYPE=Release ..
# 编译
make -j8
# 安装 Docker容器内部已经是root用户了
make install
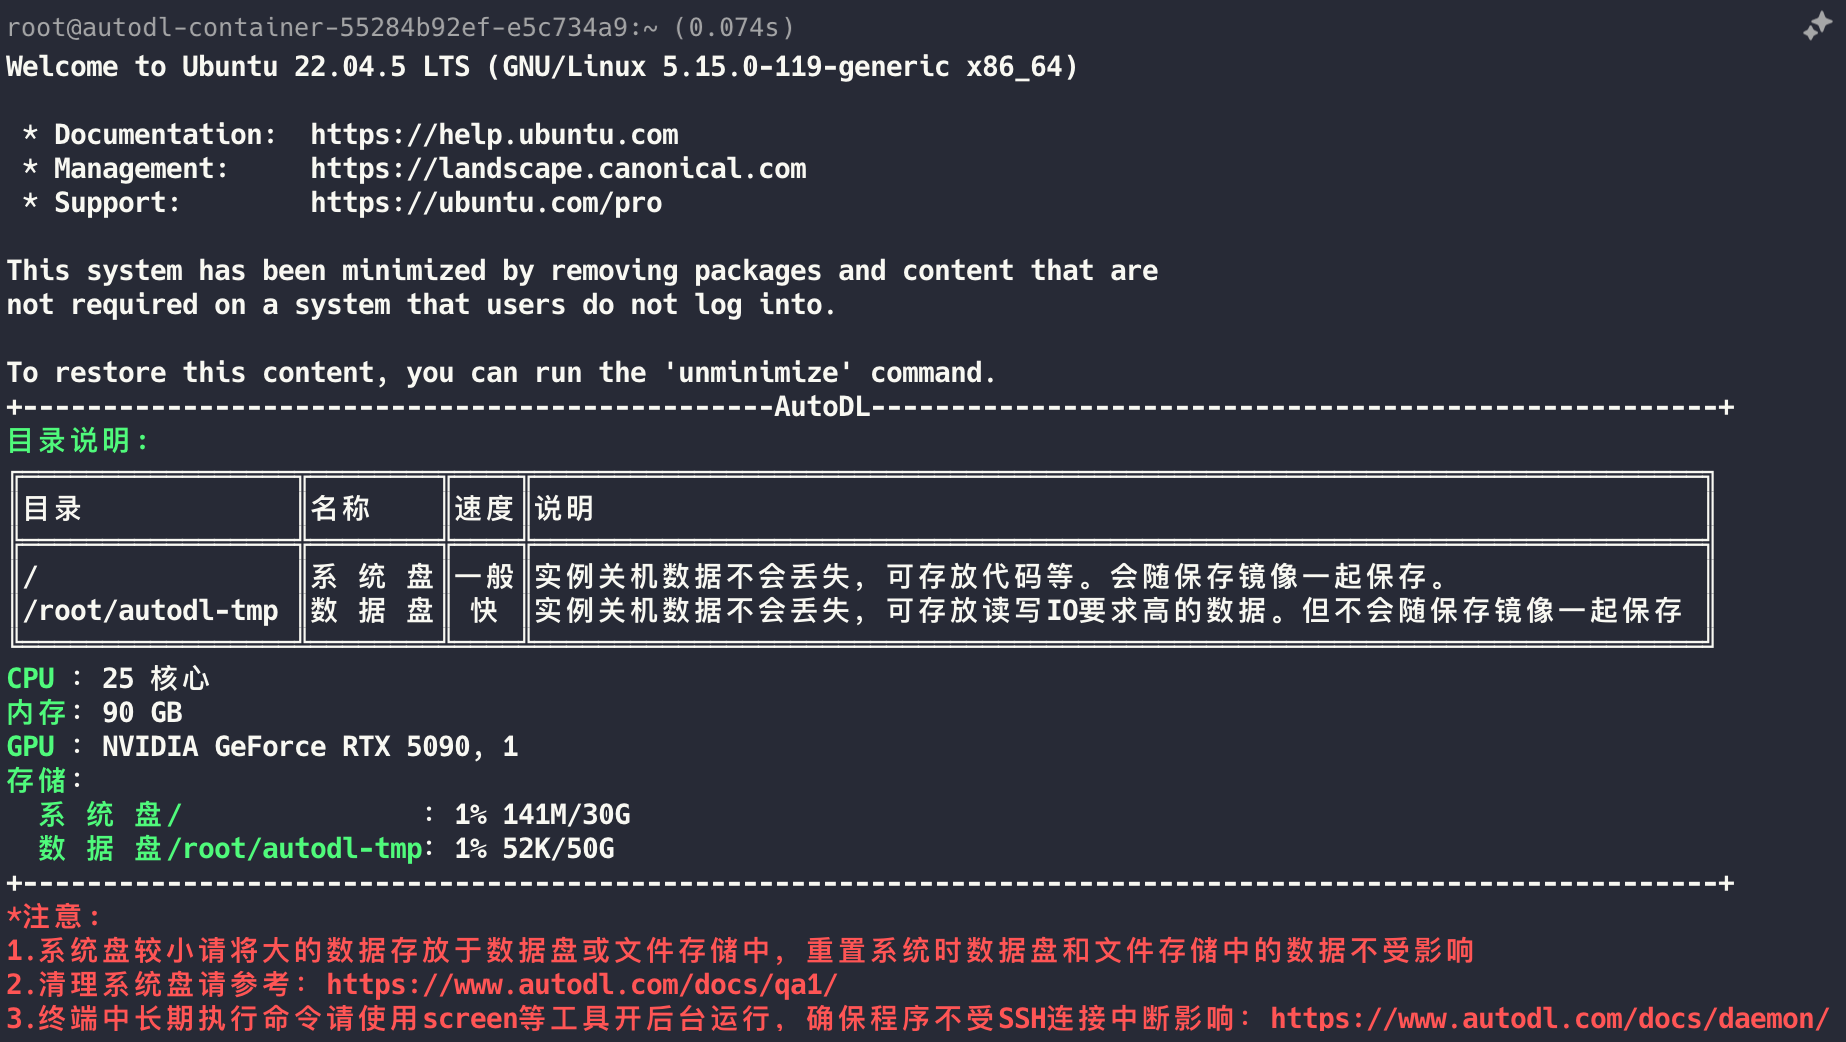
Installation - AutoDL GPU 服务器
# Login to AutoDL GPU server
ssh -p 10467 root@connect.bjb2.seetacloud.com
<password>
# 验证 GPU 状态
nvidia-smi
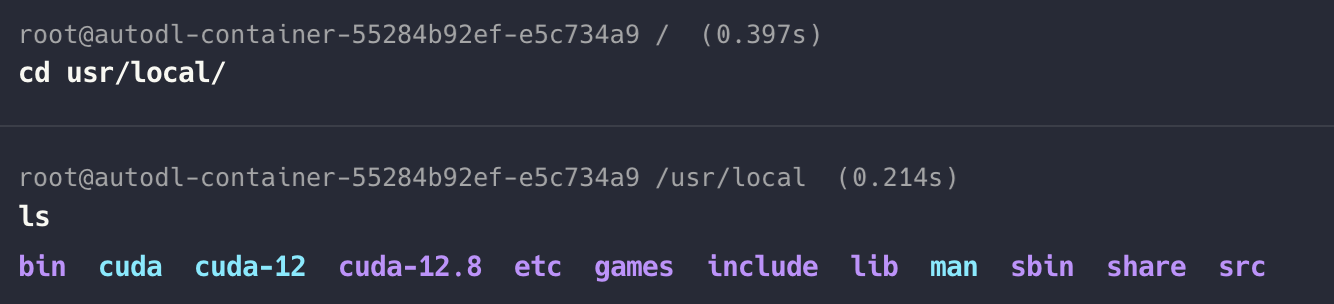
01 配置 CUDA 环境 ~/.profile
对于 AutoDL 提供的 GPU 服务器,CUDA Toolkit 已预装。但是需要手动配置和 link 环境变量。可以看到已经有 CUDA 12.8 版本。
cat >> ~/.profile <<'EOF'
export CUDA_HOME=/usr/local/cuda-12.8
export PATH=$CUDA_HOME/bin:$PATH
export LD_LIBRARY_PATH=$CUDA_HOME/lib64:$LD_LIBRARY_PATH
EOF

source ~/.profile
# 验证 CUDA 安装
which nvcc
nvcc --version
02 验证编译器 GCC 和 G++版本
gcc --version
# output
gcc (Ubuntu 11.4.0-1ubuntu1~22.04) 11.4.0
Copyright (C) 2021 Free Software Foundation, Inc.
This is free software; see the source for copying conditions.  There is NO
warranty; not even for MERCHANTABILITY or FITNESS FOR A PARTICULAR PURPOSE.

g++ --version
# output
g++ (Ubuntu 11.4.0-1ubuntu1~22.04) 11.4.0
Copyright (C) 2021 Free Software Foundation, Inc.
This is free software; see the source for copying conditions.  There is NO
warranty; not even for MERCHANTABILITY or FITNESS FOR A PARTICULAR PURPOSE.
03 安装 C++项目所需依赖
安装 Kuiper LLM 推理框架所需的 C++ 依赖库,包含 Armadillo、GoogleTest、glog 和 SentencePiece。可以将以下脚本保存为
install_kuiperllama_deps.sh,然后运行该脚本以自动完成安装过程。
创建任意目录 比如 /work
cat > install_kuiperllama_deps.sh <<'EOF'
#!/usr/bin/env bash
set -e

echo "===== [1/5] Install system dependencies ====="
apt update
apt install -y \
  git cmake make build-essential \
  libopenblas-dev liblapack-dev libarpack2-dev libsuperlu-dev \
  pkg-config

WORKDIR=${HOME}

echo "===== [2/5] Install Armadillo ====="
if [ ! -d "$WORKDIR/armadillo" ]; then
  git clone https://gitee.com/mirrors/armadillo-code.git $WORKDIR/armadillo
fi
cd $WORKDIR/armadillo
mkdir -p build && cd build
cmake -DCMAKE_BUILD_TYPE=Release ..
make -j$(nproc)
make install

echo "===== [3/5] Install GoogleTest ====="
cd $WORKDIR
if [ ! -d "$WORKDIR/googletest" ]; then
  git clone https://github.com/google/googletest.git
fi
cd googletest
mkdir -p build && cd build
cmake -DCMAKE_BUILD_TYPE=Release ..
make -j$(nproc)
make install

echo "===== [4/5] Install glog ====="
cd $WORKDIR
if [ ! -d "$WORKDIR/glog" ]; then
  git clone https://github.com/google/glog.git
fi
cd glog
mkdir -p build && cd build
cmake -DCMAKE_BUILD_TYPE=Release \
  -DWITH_GFLAGS=OFF \
  -DWITH_GTEST=OFF ..
make -j$(nproc)
make install

echo "===== [5/5] Install SentencePiece ====="
cd $WORKDIR
if [ ! -d "$WORKDIR/sentencepiece" ]; then
  git clone https://github.com/google/sentencepiece.git
fi
cd sentencepiece
mkdir -p build && cd build
cmake -DCMAKE_BUILD_TYPE=Release ..
make -j$(nproc)
make install

echo "===== All dependencies installed successfully ====="
ldconfig
EOF
# 赋予执行权限
chmod +x install_kuiperllama_deps.sh

# 运行脚本安装依赖
./install_kuiperllama_deps.sh
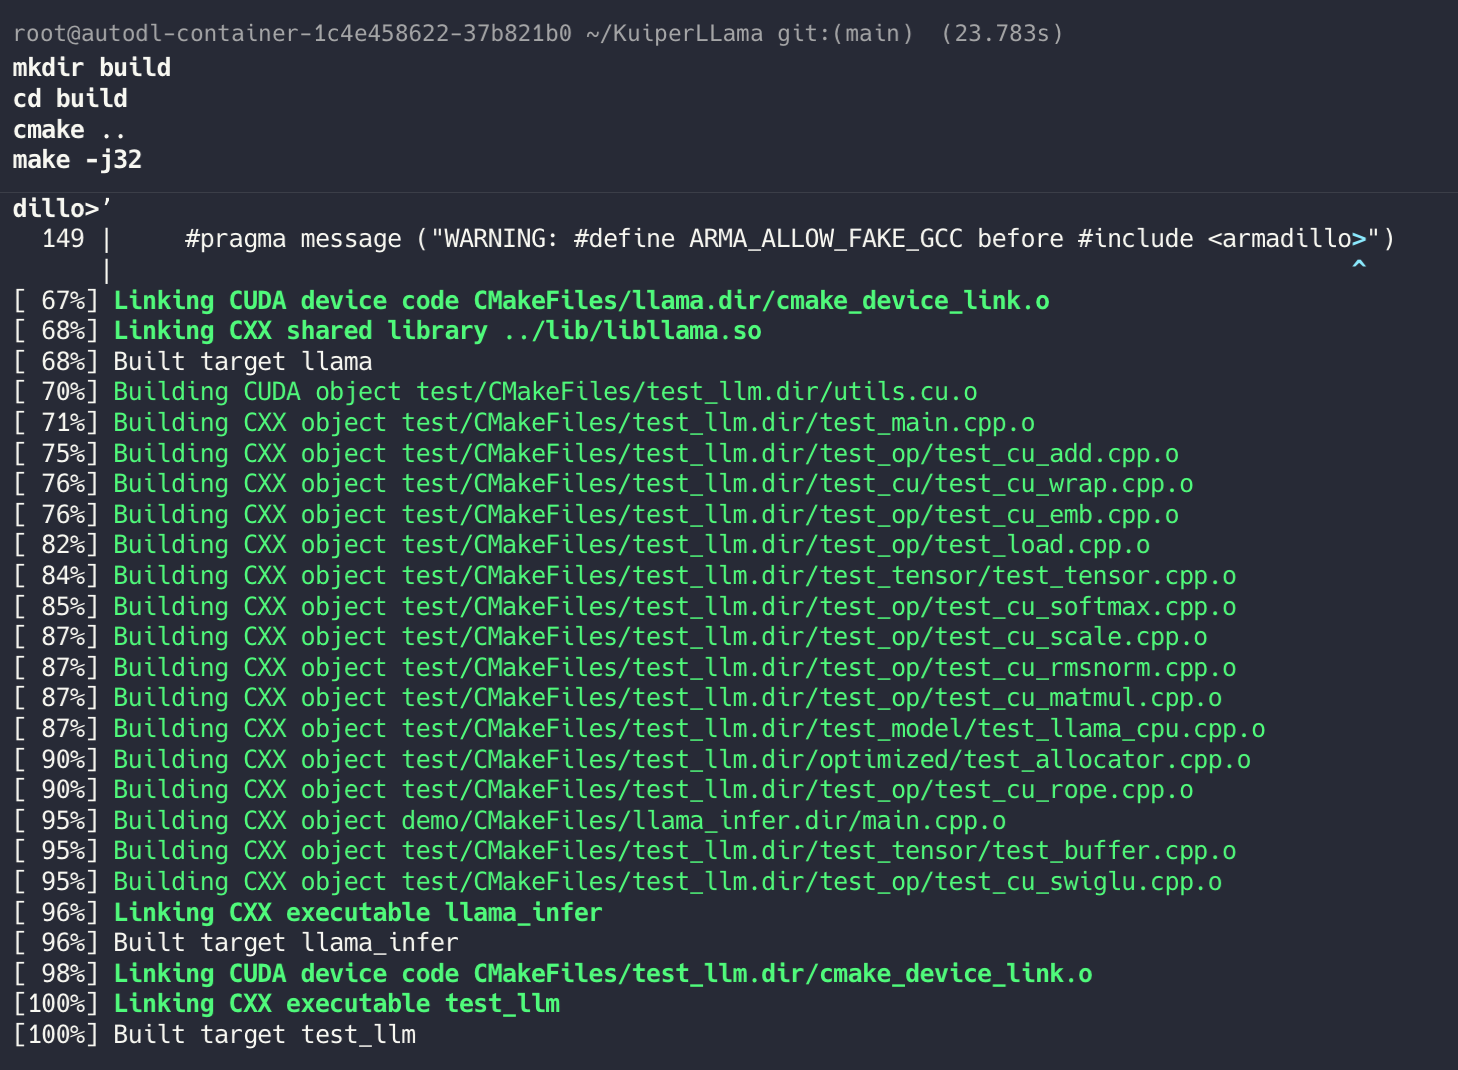
04 克隆项目代码到本地并编译
cd ~
# 克隆代码到本地(例:~/KuiperLLama 目录)
git clone https://github.com/zjhellofss/KuiperLLama.git ~/KuiperLLama
mkdir build
cd build
cmake ..
make -j32
05 下载模型权重文件
mkdir -p ~/KuiperLLama/models
cd ~/KuiperLLama/models

# 1️⃣ 下载 tokenizer
# wget -O tokenizer.model \
# https://huggingface.co/yahma/llama-7b-hf/resolve/main/tokenizer.model

# 2️⃣ 下载 TinyLLaMA 权重
# wget -O stories110M.bin \
# https://huggingface.co/karpathy/tinyllamas/resolve/main/stories110M.bin

# 由于 AutoDL 服务器网络环境限制,需使用镜像站
wget -4 -O stories110M.bin \
https://hf-mirror.com/karpathy/tinyllamas/resolve/main/stories110M.bin

wget -4 -O tokenizer.model \
https://hf-mirror.com/yahma/llama-7b-hf/resolve/main/tokenizer.model
下载完成后,可以使用以下命令查看模型文件的大小,确保下载成功。
ls -lh ~/KuiperLLama/models

# output
total 419M
-rw-r--r-- 1 root root 419M Jan 12 04:05 stories110M.bin
-rw-r--r-- 1 root root 489K Jan 12 04:05 tokenizer.model
06 运行 KuiperLLama 推理程序
cd ~/KuiperLLama/build/demo

./llama_infer /root/KuiperLLama/models/stories110M.bin /root/KuiperLLama/models/tokenizer.model
# output

CLion 远程调试 C++ 项目
01 配置 CLion 远程工具链
配置 AutoDL 服务器为远程工具链
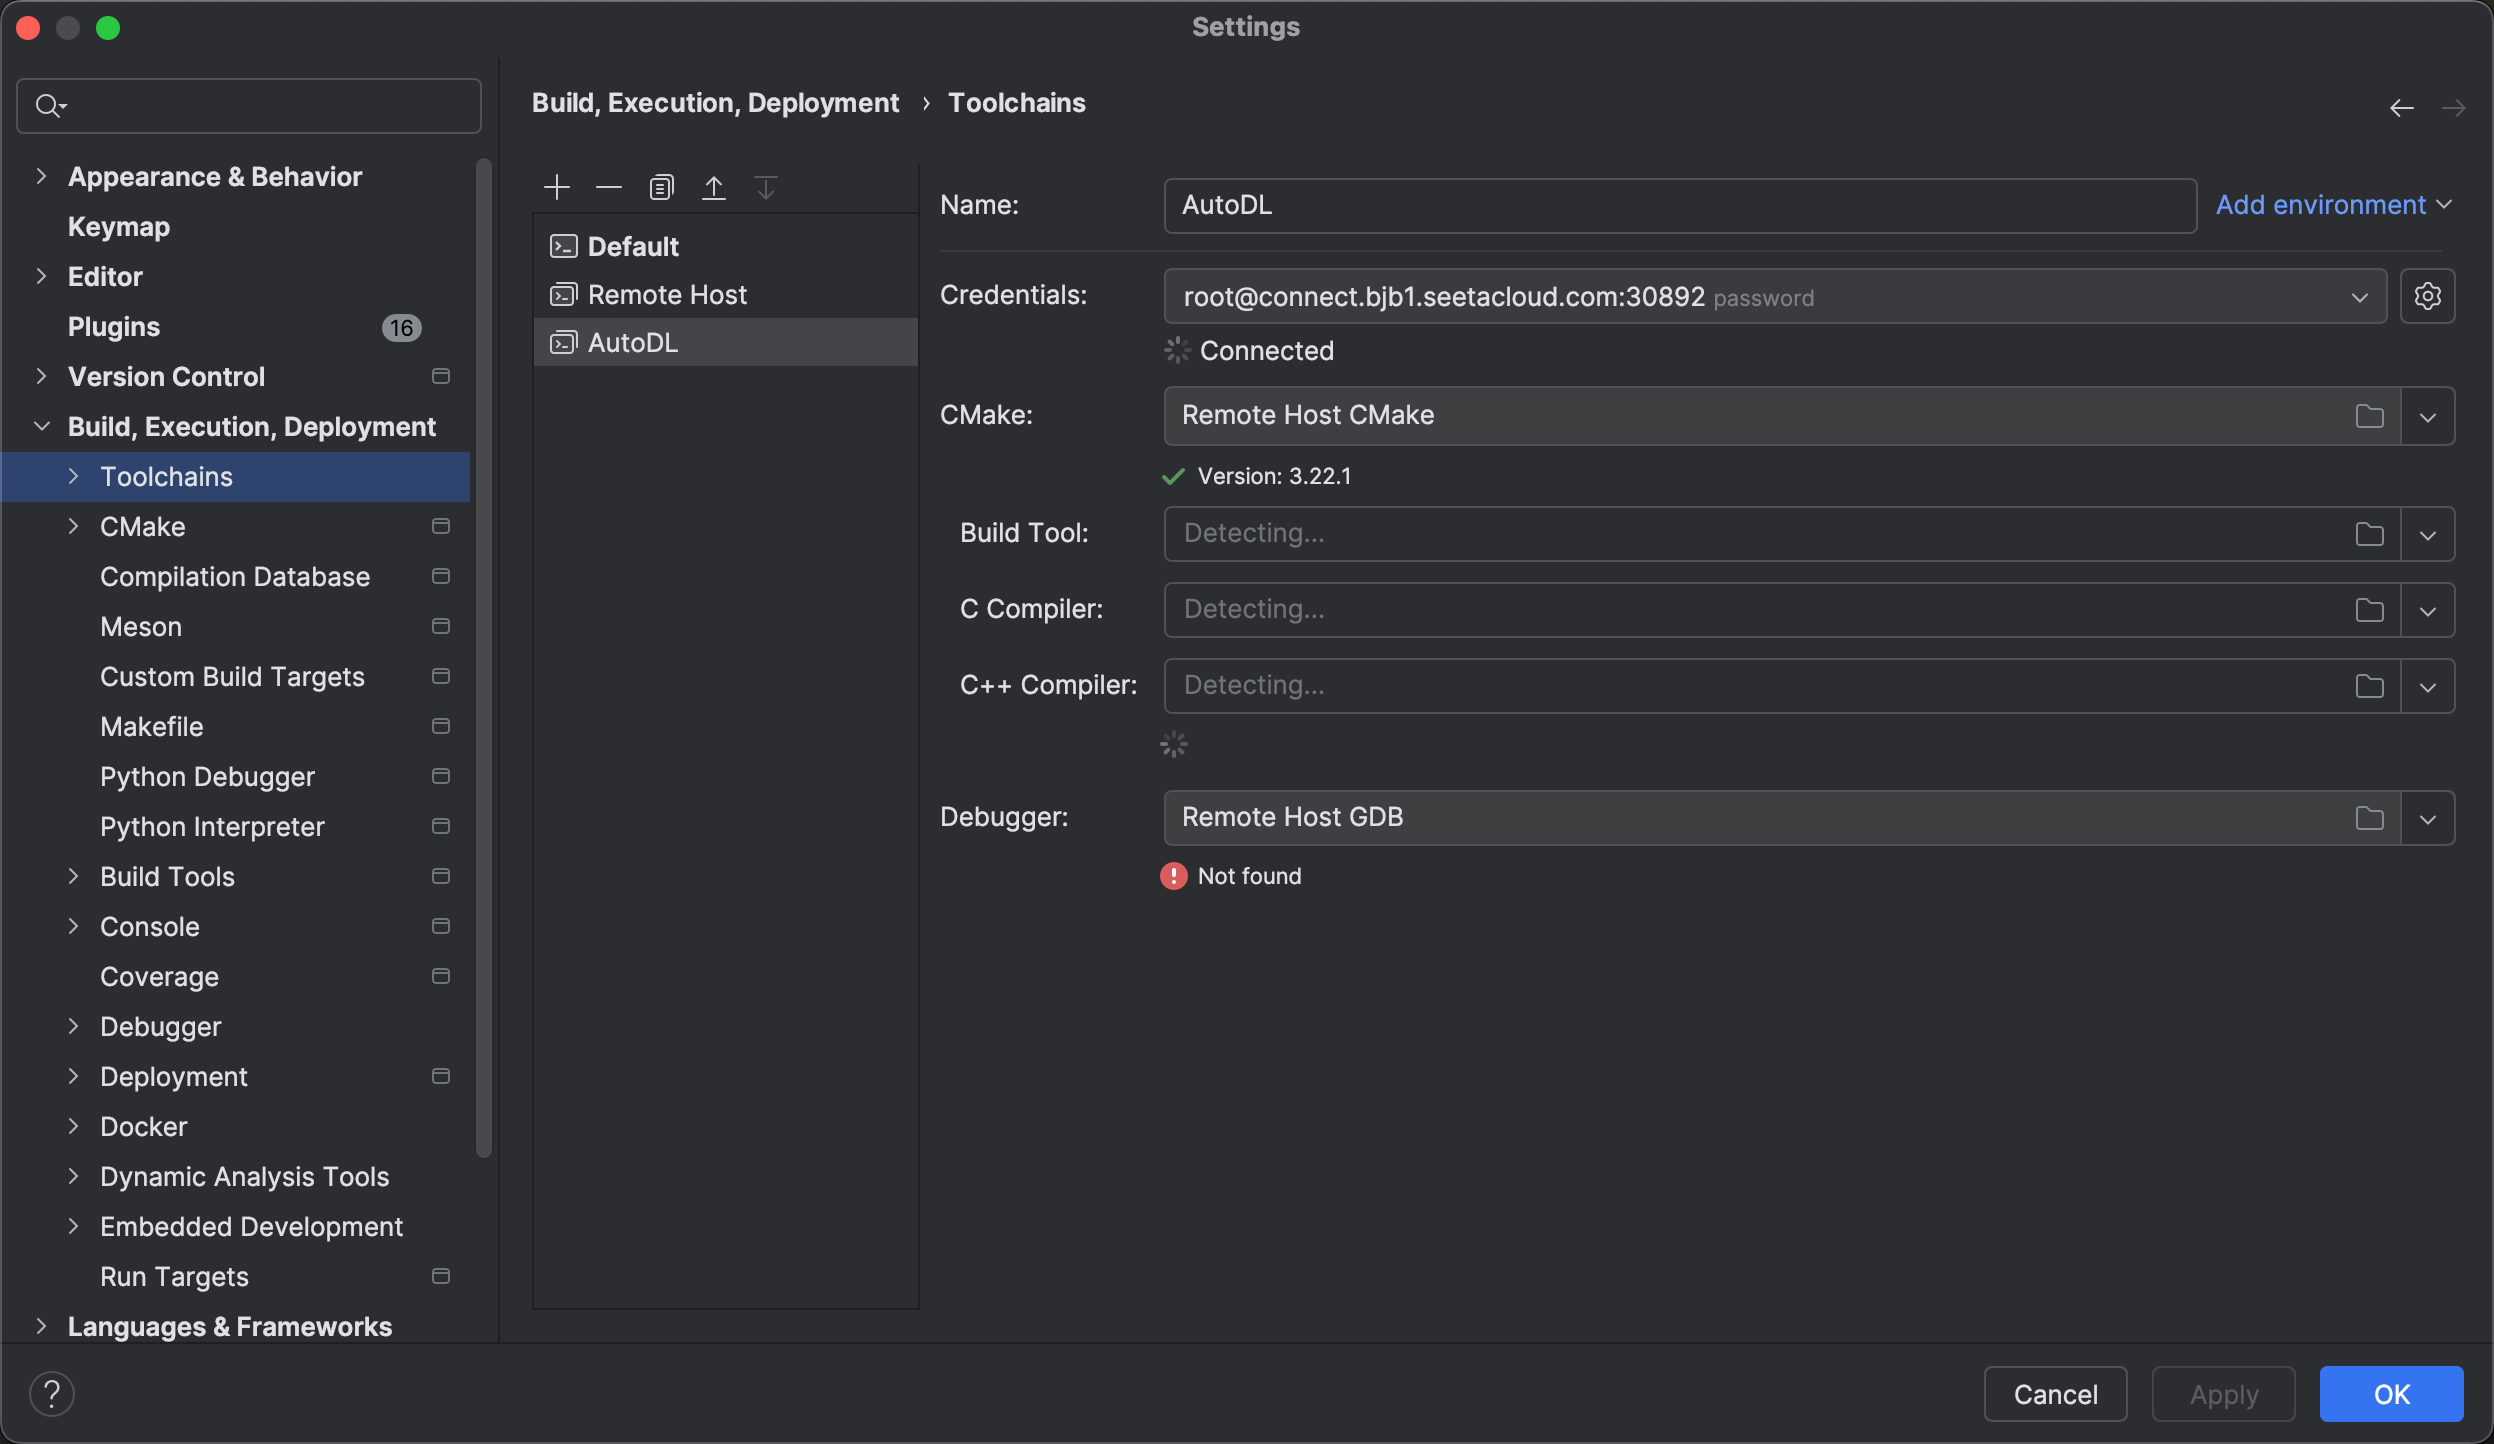
Debugger 缺失 需要安装 gdb
apt update
apt install -y gdb

# 装完验证
gdb --version
which gdb

# output
GNU gdb (Ubuntu 12.1-0ubuntu1~22.04.3) 12.1
Copyright (C) 2022 Free Software Foundation, Inc.
License GPLv3+: GNU GPL version 3 or later <http://gnu.org/licenses/gpl.html>
This is free software: you are free to change and redistribute it.
There is NO WARRANTY, to the extent permitted by law.
/usr/bin/gdb
02 配置 CMake Profile
选择 Remote AutoDL 作为工具链

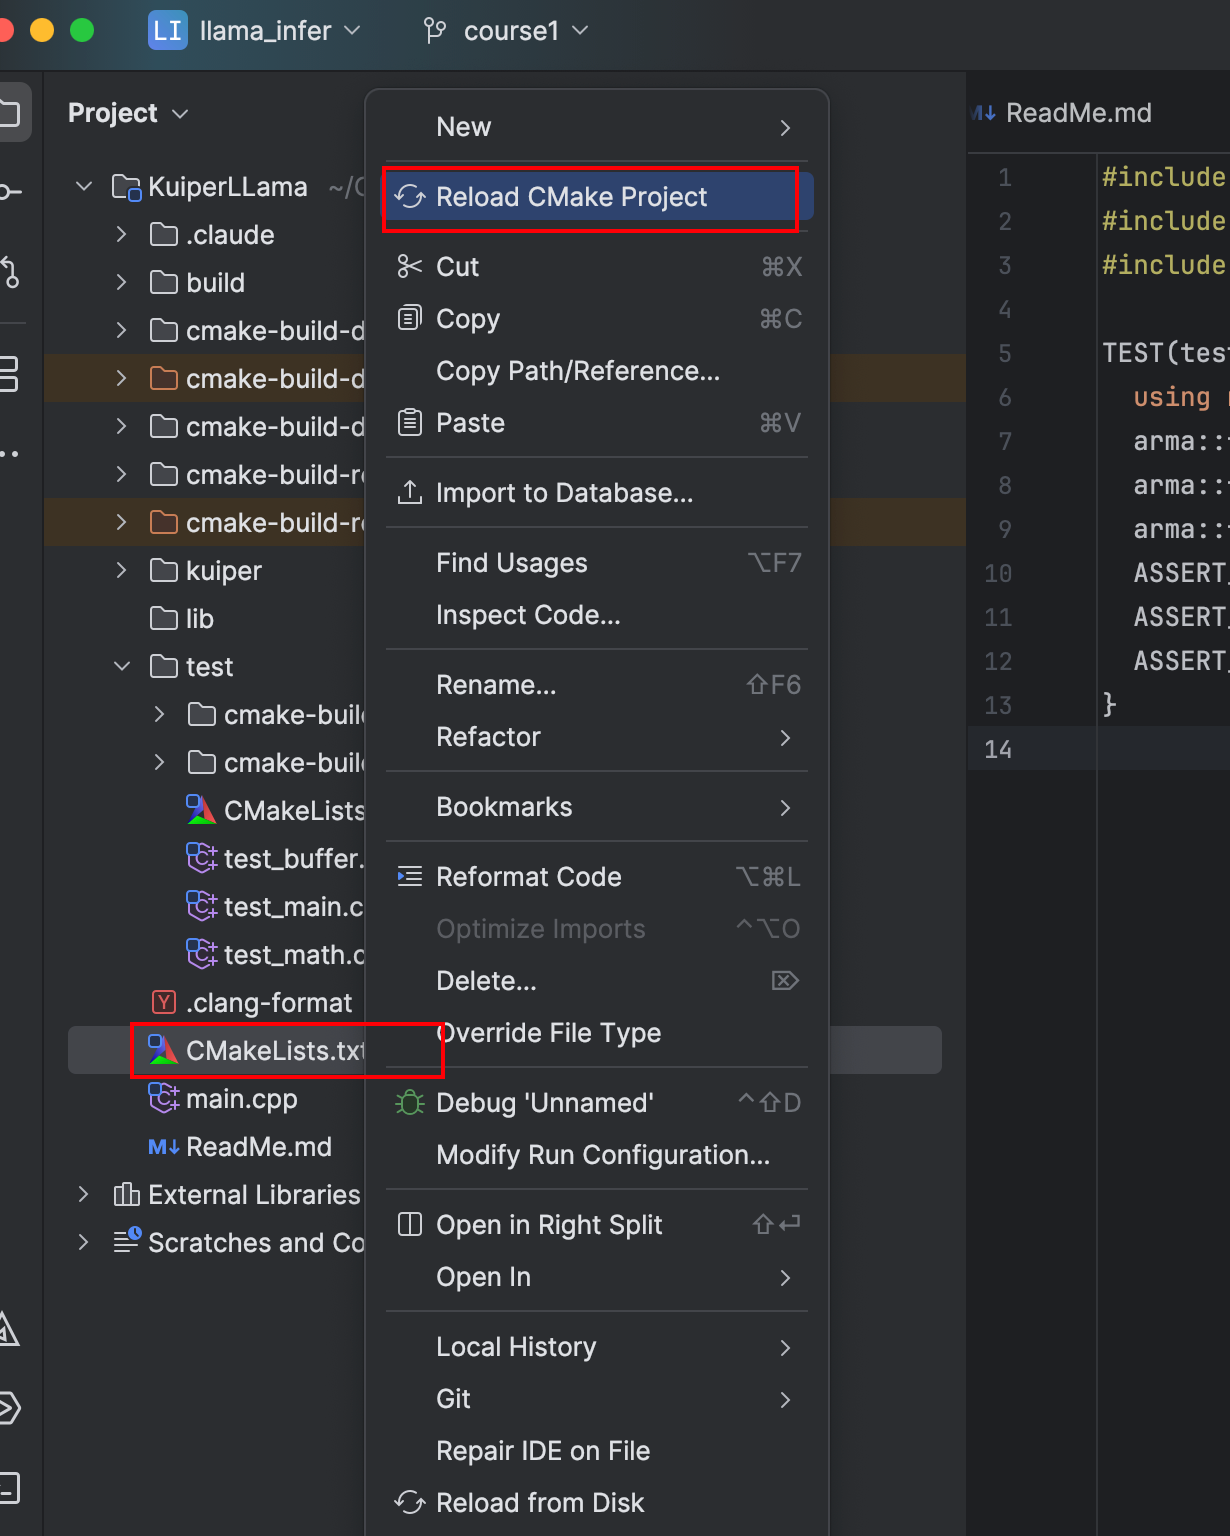
03 载入 CMake 项目 Build 在远端服务器
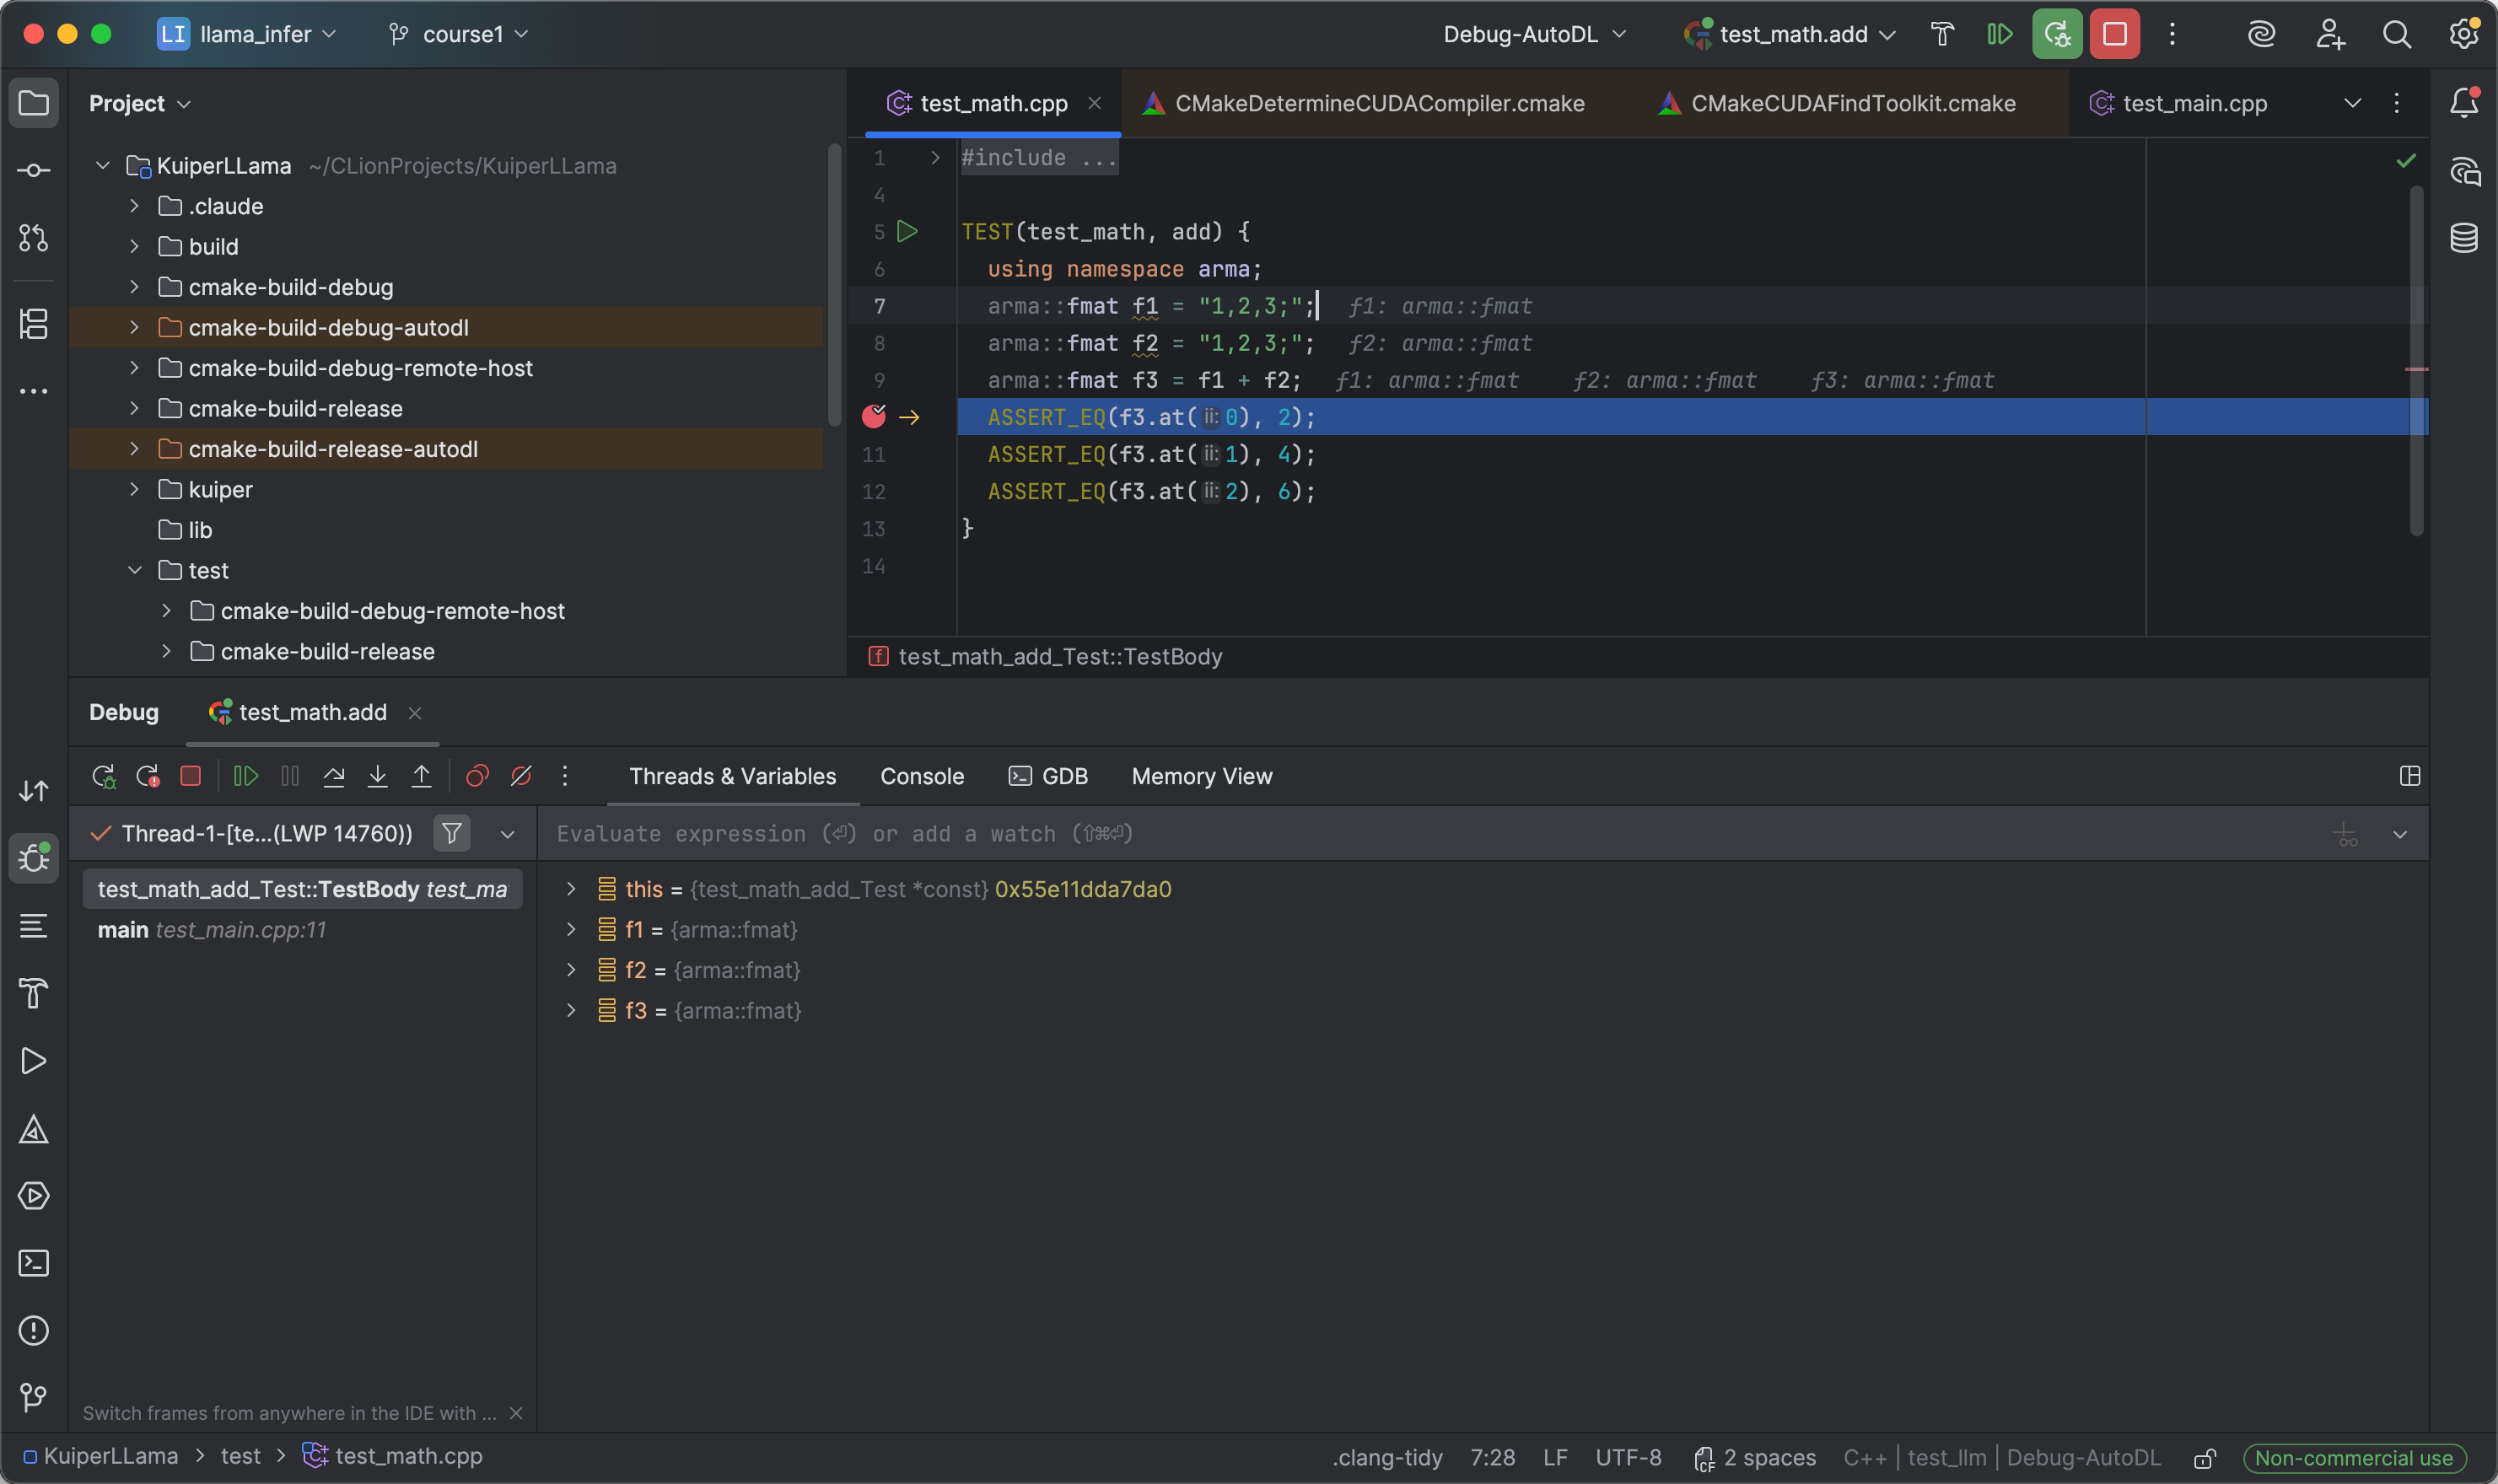
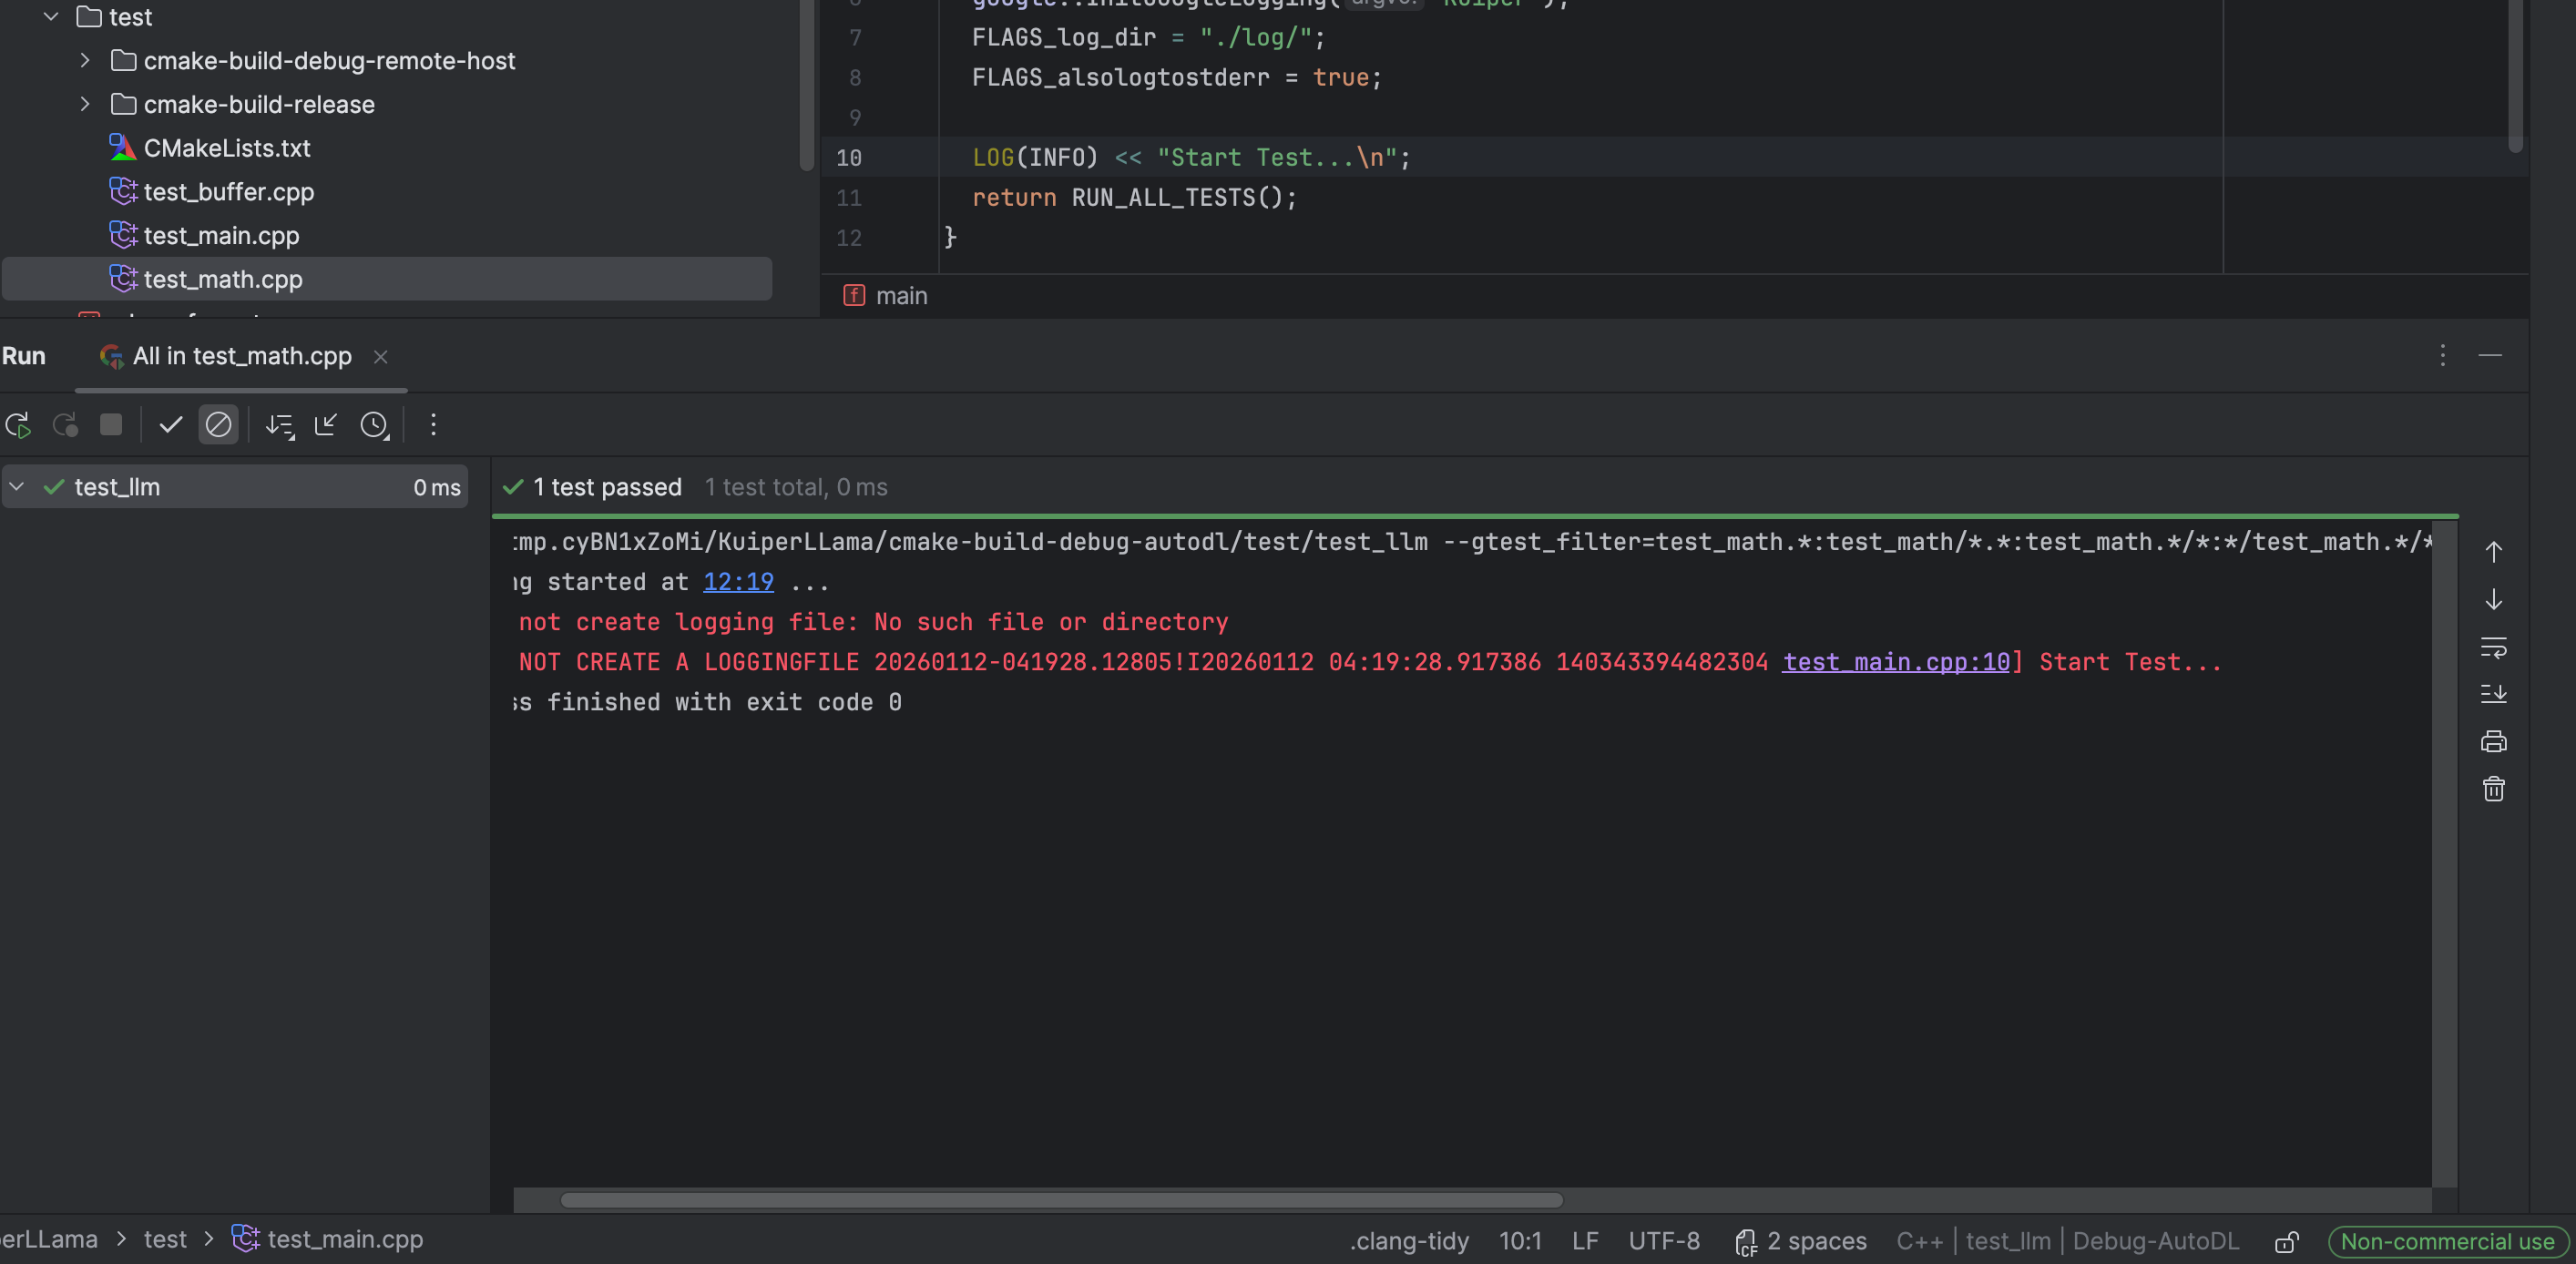
04 试运行 TEST
05 设置断点 测试 Debugger