01 Nvidia GPU & CUDA Toolkit
info
在本节笔记中,我们将完成显卡驱动和 CUDA Toolkit 的安装,并通过一个简单的程序验证安装是否成功。随后,我们将介绍并使用 CUDA 自带的开发工具,包括使用 nvcc(NVIDIA 的 CUDA 编译器)编译第一个 CUDA 程序,以及使用 cuda-gdb 进行代码调试
Important Links
- [AutoDL|GPU Renting]: https://api.autodl.com/console/instance/list?tag_id=

# Login to AutoDL GPU server
ssh -p 10467 root@connect.bjb2.seetacloud.com
<password>
本节将介绍如何安装 NVIDIA 显卡驱动。需要注意的是,如果是使用学校或租用服务器,不建议自行安装驱动,建议联系系统管理员处理。一般来说,学校或企业服务器往往已经安装过了合适的 NVIDIA 驱动。因此,本节内容主要适用于尚未安装驱动的个人电脑用户。
查看显卡的型号
在安装 NVIDIA 显卡驱动之前,首先需要确认显卡的型号。可以通过以下方法查看。
lspci | grep -i nvidia

# or

nvidia-smi

Sat Nov 22 14:09:02 2025
+-----------------------------------------------------------------------------------------+
| NVIDIA-SMI 580.76.05              Driver Version: 580.76.05      CUDA Version: 13.0     |
+-----------------------------------------+------------------------+----------------------+
| GPU  Name                 Persistence-M | Bus-Id          Disp.A | Volatile Uncorr. ECC |
| Fan  Temp   Perf          Pwr:Usage/Cap |           Memory-Usage | GPU-Util  Compute M. |
|                                         |                        |               MIG M. |
|=========================================+========================+======================|
|   0  NVIDIA GeForce RTX 5090        On  |   00000000:98:00.0 Off |                  N/A |
| 42%   26C    P8             15W /  575W |       0MiB /  32607MiB |      0%      Default |
|                                         |                        |                  N/A |
+-----------------------------------------+------------------------+----------------------+

+-----------------------------------------------------------------------------------------+
| Processes:                                                                              |
|  GPU   GI   CI              PID   Type   Process name                        GPU Memory |
|        ID   ID                                                               Usage      |
|=========================================================================================|
|  No running processes found                                                             |
+-----------------------------------------------------------------------------------------+
CUDA 安装
通过 nvidia-smi 的输出可以看到:
- Driver Version: 580.76.05
- CUDA Version: 13.0
这表示当前驱动最高支持 CUDA 13.0,并不意味着系统已安装 CUDA Toolkit。nvidia-smi 显示的 CUDA 版本仅反映驱动兼容的最高 CUDA 运行时版本
配置 ~/.bashrc
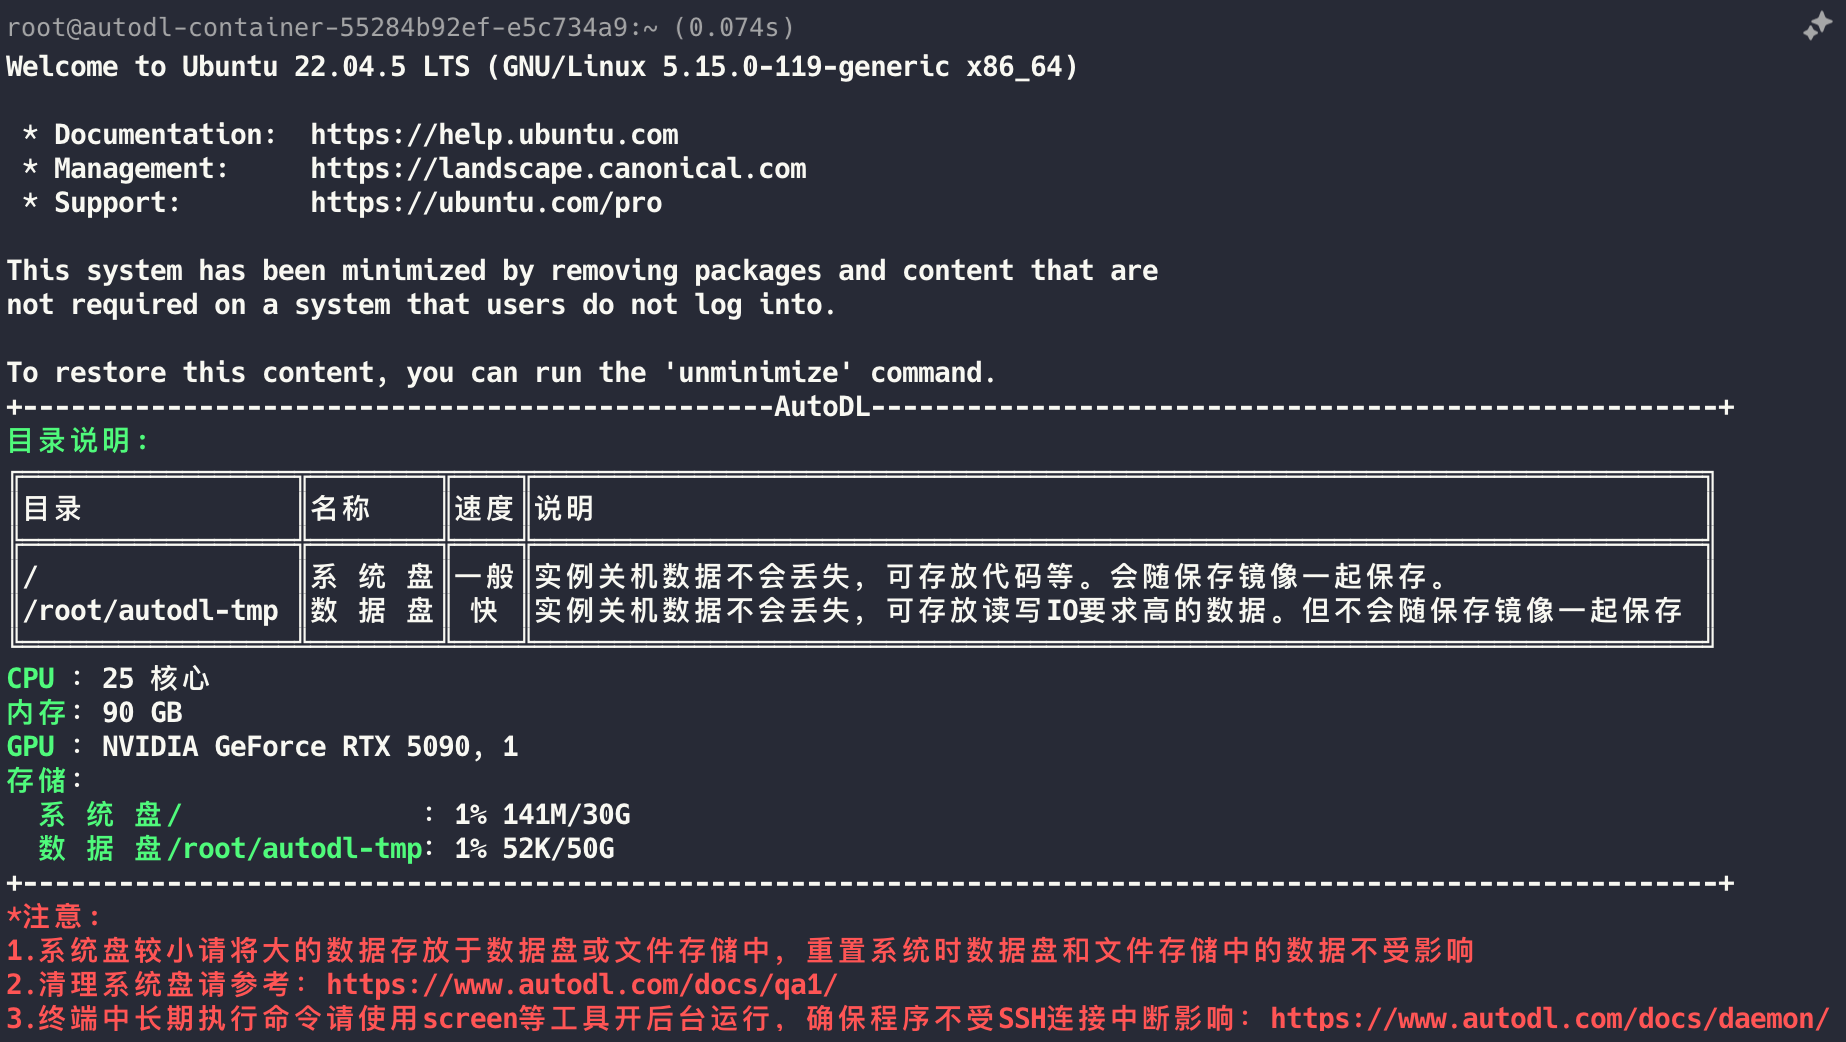
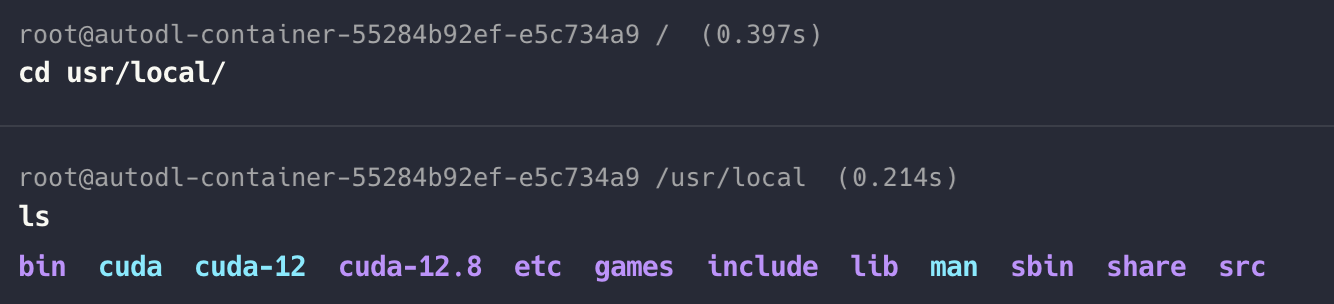
对于 AutoDL 提供的 GPU 服务器,CUDA Toolkit 已预装。但是需要手动配置和 link 环境变量。可以看到已经有 CUDA 12.8 版本。
vim ~/.bashrc

export PATH=/usr/local/cuda-12.8/bin:$PATH
export LD_LIBRARY_PATH=/usr/local/cuda-12.8/lib64:$LD_LIBRARY_PATH

source ~/.bashrc
验证 CUDA 安装
nvcc --version
nvcc: NVIDIA (R) Cuda compiler driver
Copyright (c) 2005-2025 NVIDIA Corporation
Built on Fri_Feb_21_20:23:50_PST_2025
Cuda compilation tools, release 12.8, V12.8.93
Build cuda_12.8.r12.8/compiler.35583870_0
CUDA Hello World 示例

为便于理解编译过程,我们将不使用项目自带的 CMake 构建系统,而是直接通过 nvcc 手动编译该程序。同时为了能够随后使用 cuda-gdb 对程序进行调试,我们在这里还需要用-O0 -g 的模式进行编译
nvcc -g -G -O0 -o hello course1/hello_world.cu

# or
# 以上是以Debug模式编译代码,后续我们可以用Release模式编译代码
# 两者的区别在于Release模式使用了O3来编译Cuda代码,生成的可执行程序运行速度更快。
nvcc -O3 -o hello course1/hello_world.cu
nvcc 运行 CUDA 程序
./hello

# output
CPU: Hello world!
block idx:0 thread idx: 0
block idx:0 thread idx: 1
block idx:0 thread idx: 2
block idx:0 thread idx: 3
block idx:0 thread idx: 4
block idx:0 thread idx: 5
block idx:0 thread idx: 6
block idx:0 thread idx: 7
block idx:0 thread idx: 8
block idx:0 thread idx: 9
GPU: Hello world!
GPU: Hello world finished!
CPU: Hello world finished!
使用 cuda-gdb 调试 CUDA 程序
cuda-gdb ./hello
# 使用 list 5(或 l 5)命令可列出第 5 行附近的 CUDA 源代码。
For help, type "help".
Type "apropos word" to search for commands related to "word"...
Reading symbols from ./hello...
(cuda-gdb) l5
Undefined command: "l5".  Try "help".
(cuda-gdb) list 5
1	#include <cuda_runtime.h>
2
3	#include <iostream>
4	__global__ void hello_world(void) {
5	  printf("block idx:%d thread idx: %d\n", blockIdx.x, threadIdx.x);
6	  if (threadIdx.x == 0) {
7	    printf("GPU: Hello world!\n");
8	  }
9	}
10
# 我们将断点打在第5行,使用的命令是b 5
# run 命令启动程序的执行

(cuda-gdb) b 5
Breakpoint 1 at 0x8eaa: file /root/course1/hello_world.cu, line 9.
(cuda-gdb) run
Starting program: /root/course1/hello
warning: Error disabling address space randomization: Operation not permitted
[Thread debugging using libthread_db enabled]
Using host libthread_db library "/usr/lib/x86_64-linux-gnu/libthread_db.so.1".
CPU: Hello world!
[New Thread 0x7f8b3ec2b000 (LWP 3841)]
[New Thread 0x7f8b3d955000 (LWP 3842)]
[Detaching after fork from child process 3843]
[New Thread 0x7f8b3cdf0000 (LWP 3851)]
[New Thread 0x7f8b36dde000 (LWP 3852)]
[Switching focus to CUDA kernel 0, grid 1, block (0,0,0), thread (0,0,0), device 0, sm 0, warp 0, lane 0]

CUDA thread hit Breakpoint 1, hello_world<<<(1,1,1),(10,1,1)>>> () at hello_world.cu:5
5	  printf("block idx:%d thread idx: %d\n", blockIdx.x, threadIdx.x);
通过查看当前执行的 CUDA kernel 信息,可知该 kernel 启用了 1 个线程块,共 10 个线程。
(cuda-gdb) info cuda kernels
  Kernel Parent Dev Grid Status                                       SMs Mask GridDim BlockDim Invocation
*      0      -   0    1 Active 0x00000000000000000000000000000000000000000001 (1,1,1) (10,1,1) hello_world()
如果我们想切换到你其中的第 6 个线程,可以输入
# 打印当前的线程号和线程块号,发现已经切换到了block 0, thread 6中。

(cuda-gdb) cuda block (0,0,0) thread (6,0,0)
[Switching focus to CUDA kernel 0, grid 1, block (0,0,0), thread (6,0,0), device 0, sm 0, warp 0, lane 6]
5	  printf("block idx:%d thread idx: %d\n", blockIdx.x, threadIdx.x);
(cuda-gdb) p blockIdx.x
$1 = 0
(cuda-gdb) p threadIdx.x
$2 = 6